Getting started as a Shopify retailer on Mothership
Onboarding · Estimated time: 15–20 minutes
This guide walks you through everything you need to do to create your retailer account on Mothership, connect your Shopify store, and get ready to start selling your supplier's products. Follow each step in order.
ℹ️ What is Mothership? Mothership connects retailers (you, the store that sells products to end customers) with suppliers (the businesses that hold inventory and ship orders on your behalf).
Before you start
It helps to have answers to the following questions before you begin. You may need to discuss some of these with your supplier.
- What wholesale price will the supplier charge you for their products?
- What will the supplier charge you for shipping? What will you charge your end customers?
- Which countries will the supplier ship to? Will you restrict your store to those destinations?
- Will you allow returns? Who accepts the return, you or the supplier? Does the supplier require an RMA?
- How will you pay your supplier, and how often?
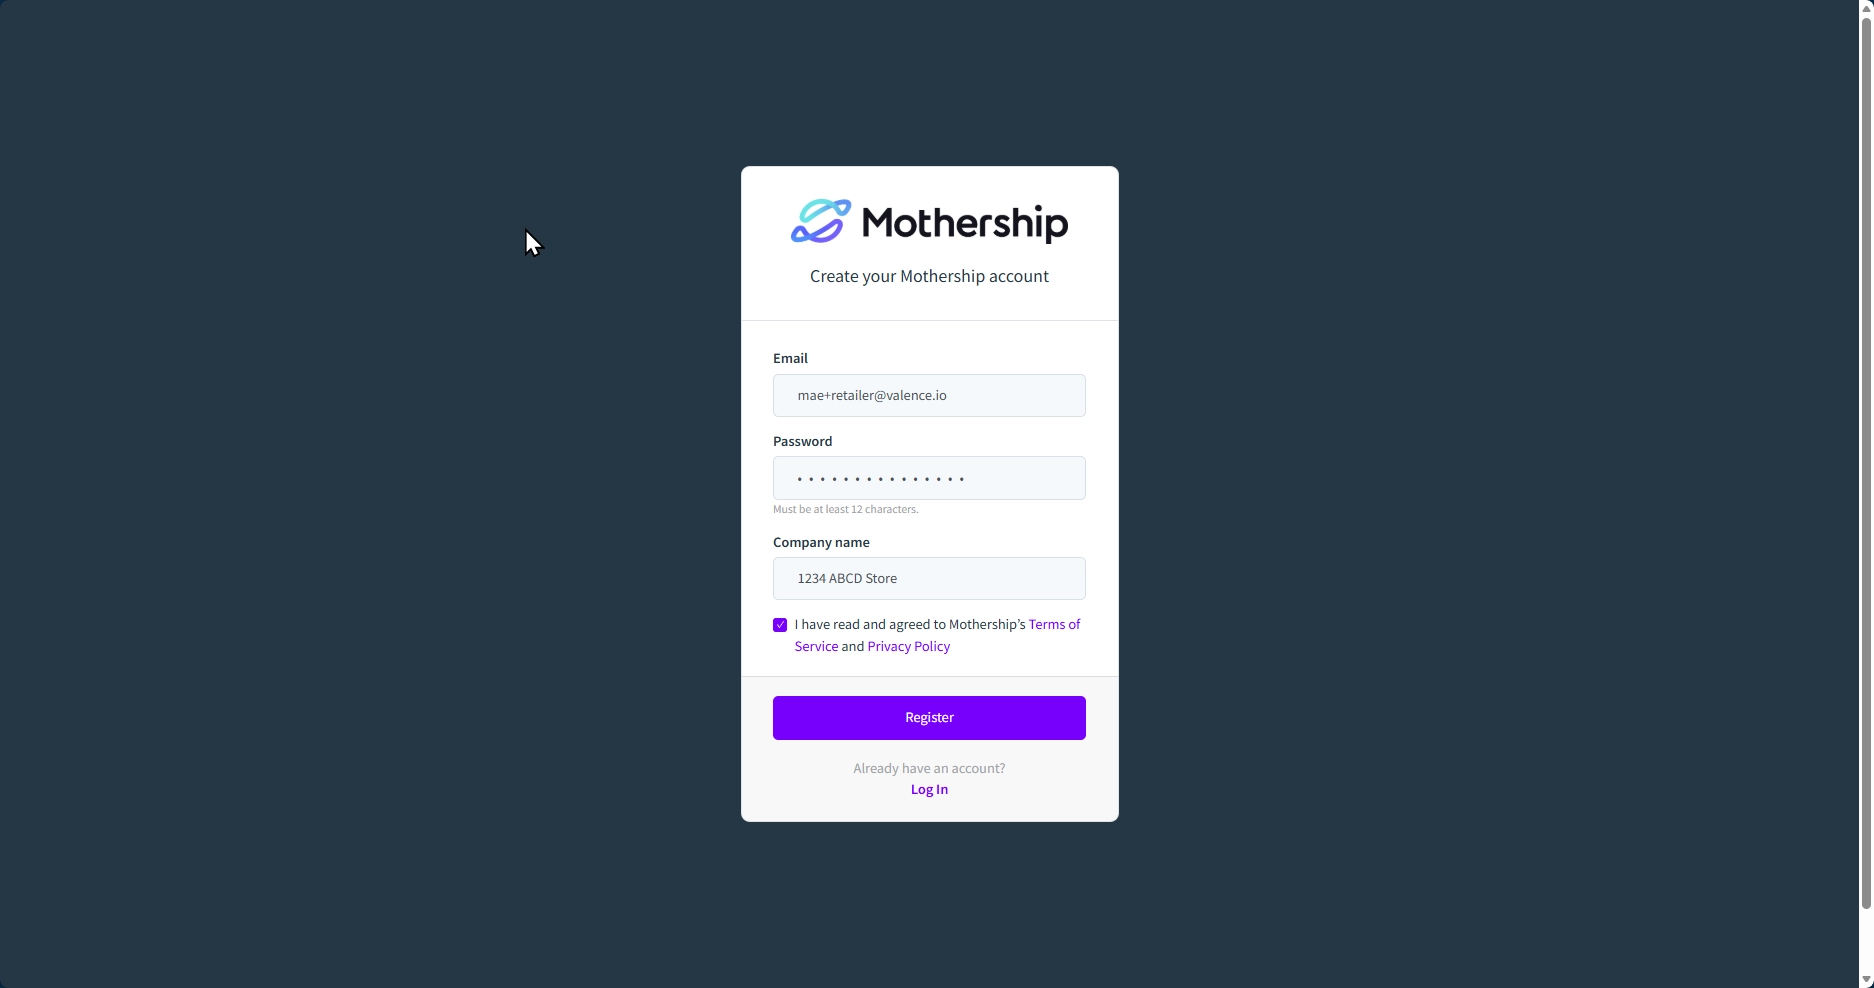
Onboarding Step 1 — Create your account
Go to portal.mothership.fm/users/register, enter your business name, email, and password, check the box to accept the privacy policy, and click Register.
Onboarding Step 2 — Legal: Review the tax & drop shipping policy
Mothership does not collect or remit sales tax or VAT. Tax is handled between you and your supplier. The key points:
- You are responsible for collecting sales tax or VAT from your end customers on orders placed through your store.
- You should provide your supplier with a wholesaler's or reseller certificate (or VAT equivalent). This documents the transaction as B2B.
- If you're unsure about your obligations, consult a tax professional.
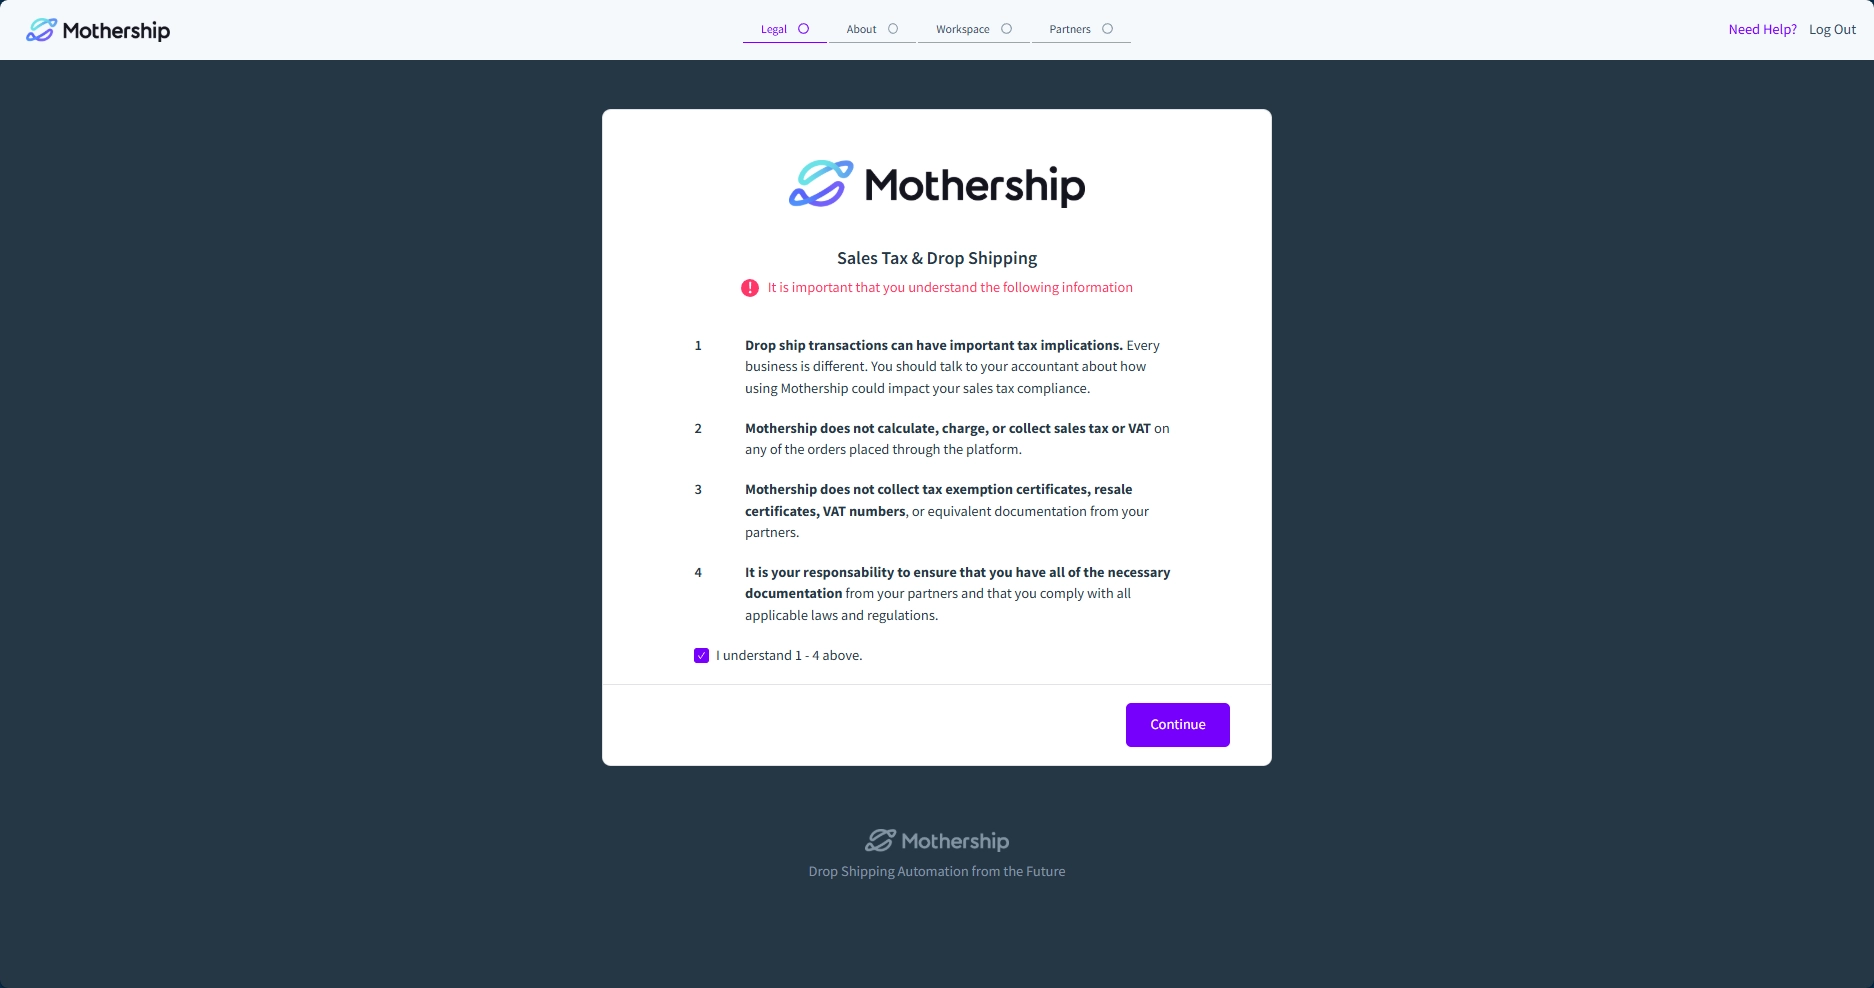
Click "I understand 1-4 above" and continue.
⚠️ Heads up: Tax rules vary by region. If both you and your supplier have offices in the same state or country, that could create a sales tax nexus and create a tax obligation for the wholesale transactions. When in doubt, consult a tax advisor.
Onboarding Step 3 — Complete your business profile
1. Enter your business address
2. Set up your notification email addresses You can add multiple addresses to each field, then separate them with a comma.
| Field | What it’s for |
|---|---|
| Partner support recipients | This is a customer support email where your retailer contacts you about their order concerns. |
| Sales report recipients | Receives periodic CSV summaries of order and refund activity. Sales reports can be used to generate invoices if Mothership does not automate your retailer’s payments. |
| Exception notification recipients | Gets alerted if something goes wrong in Mothership that needs your attention. |

Click Continue.
Onboarding Step 4 — Workspace: Set up your workspace
-
Select your workspace type
Select Retailer — you sell products to end customers and place orders with your supplier.
ℹ️ Supplier vs. Retailer? A retailer sells products to end customers and places orders with the supplier. A supplier holds physical inventory and ships orders on your behalf.
-
Set your workspace currency
Choose the currency your pricing is in. This affects how prices and invoices appear from your supplier. Mothership can convert pricing from the supplier’s currency into the retailer’s currency when it creates a new product in the retailer’s platform. Please note, however, that all Mothership orders and financial transactions are in the supplier’s currency.
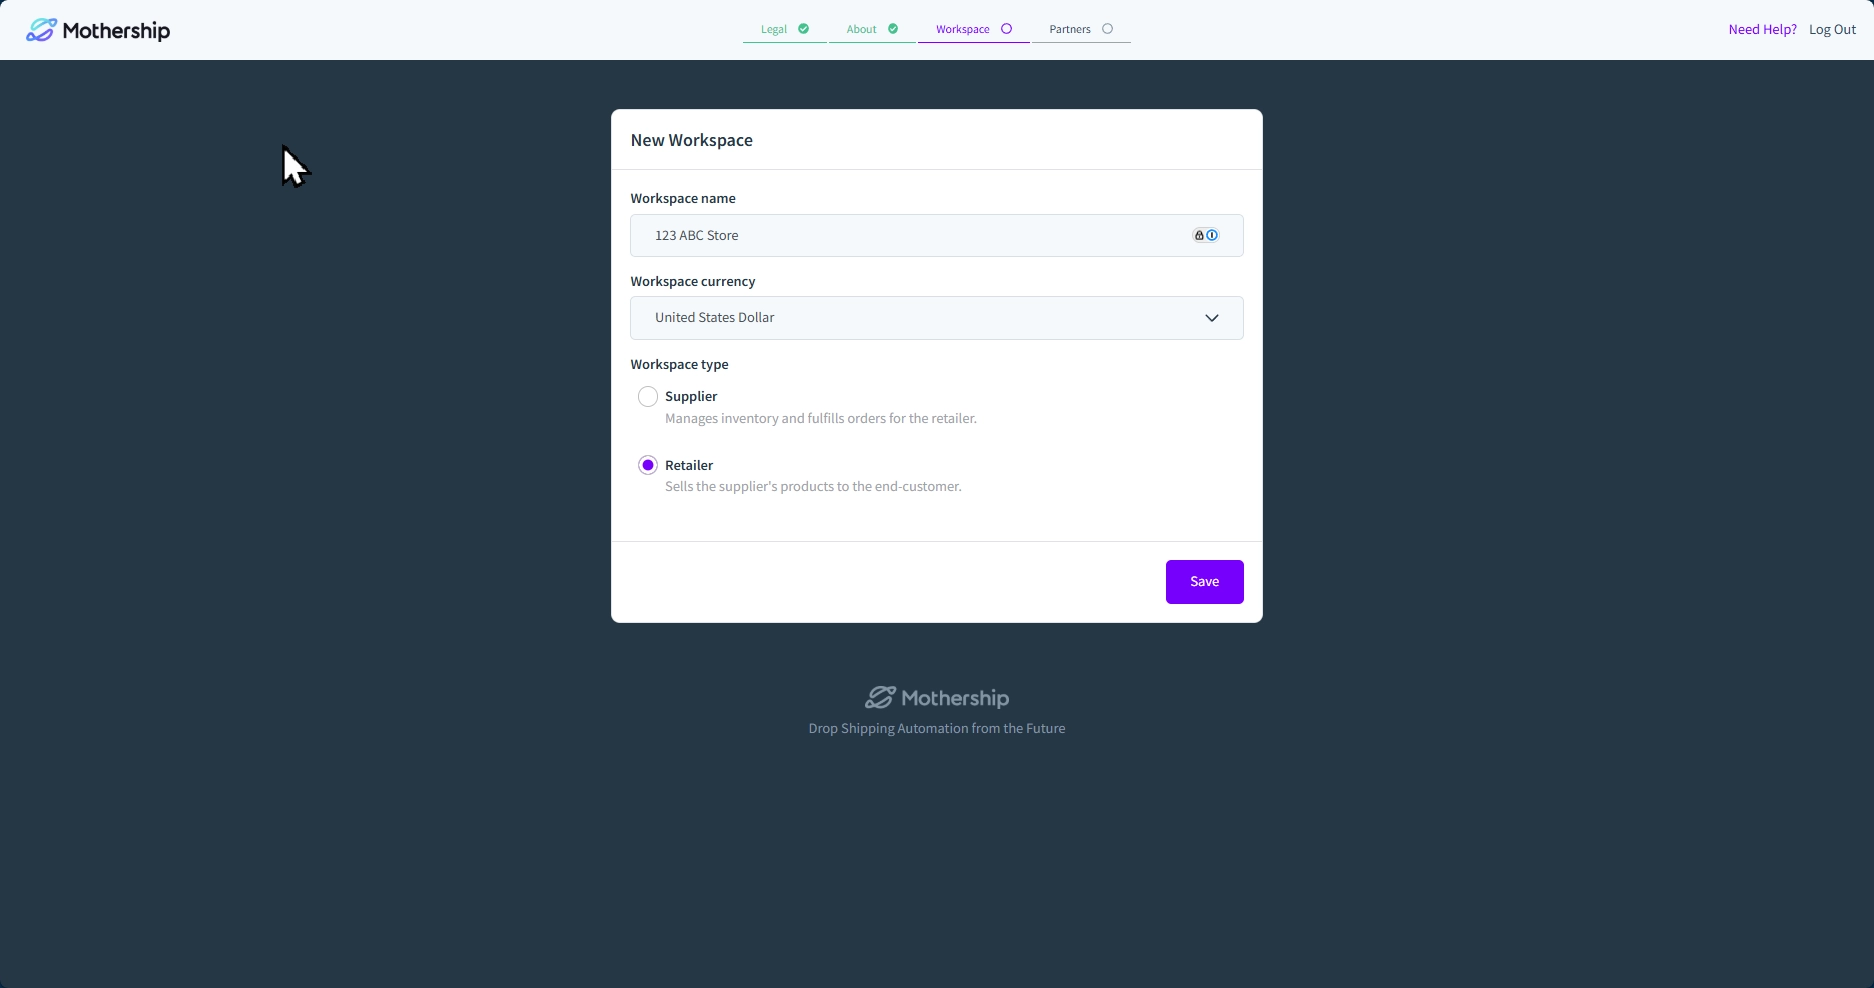
Click Save and continue.
Onboarding Step 5 — Connect your Shopify store
Mothership connects to your Shopify store through the Mothership Retailer app. You can start from either Mothership or Shopify, as they both lead to the same place.
ℹ️ Find the Mothership Retailer app by searching "Mothership Retailer" in the Shopify App Store, or go directly to apps.shopify.com/mothership-connect
Starting from Mothership (most common)
-
Click Connect next to Shopify in the Mothership Portal
You'll be taken to the Mothership Retailer app page.
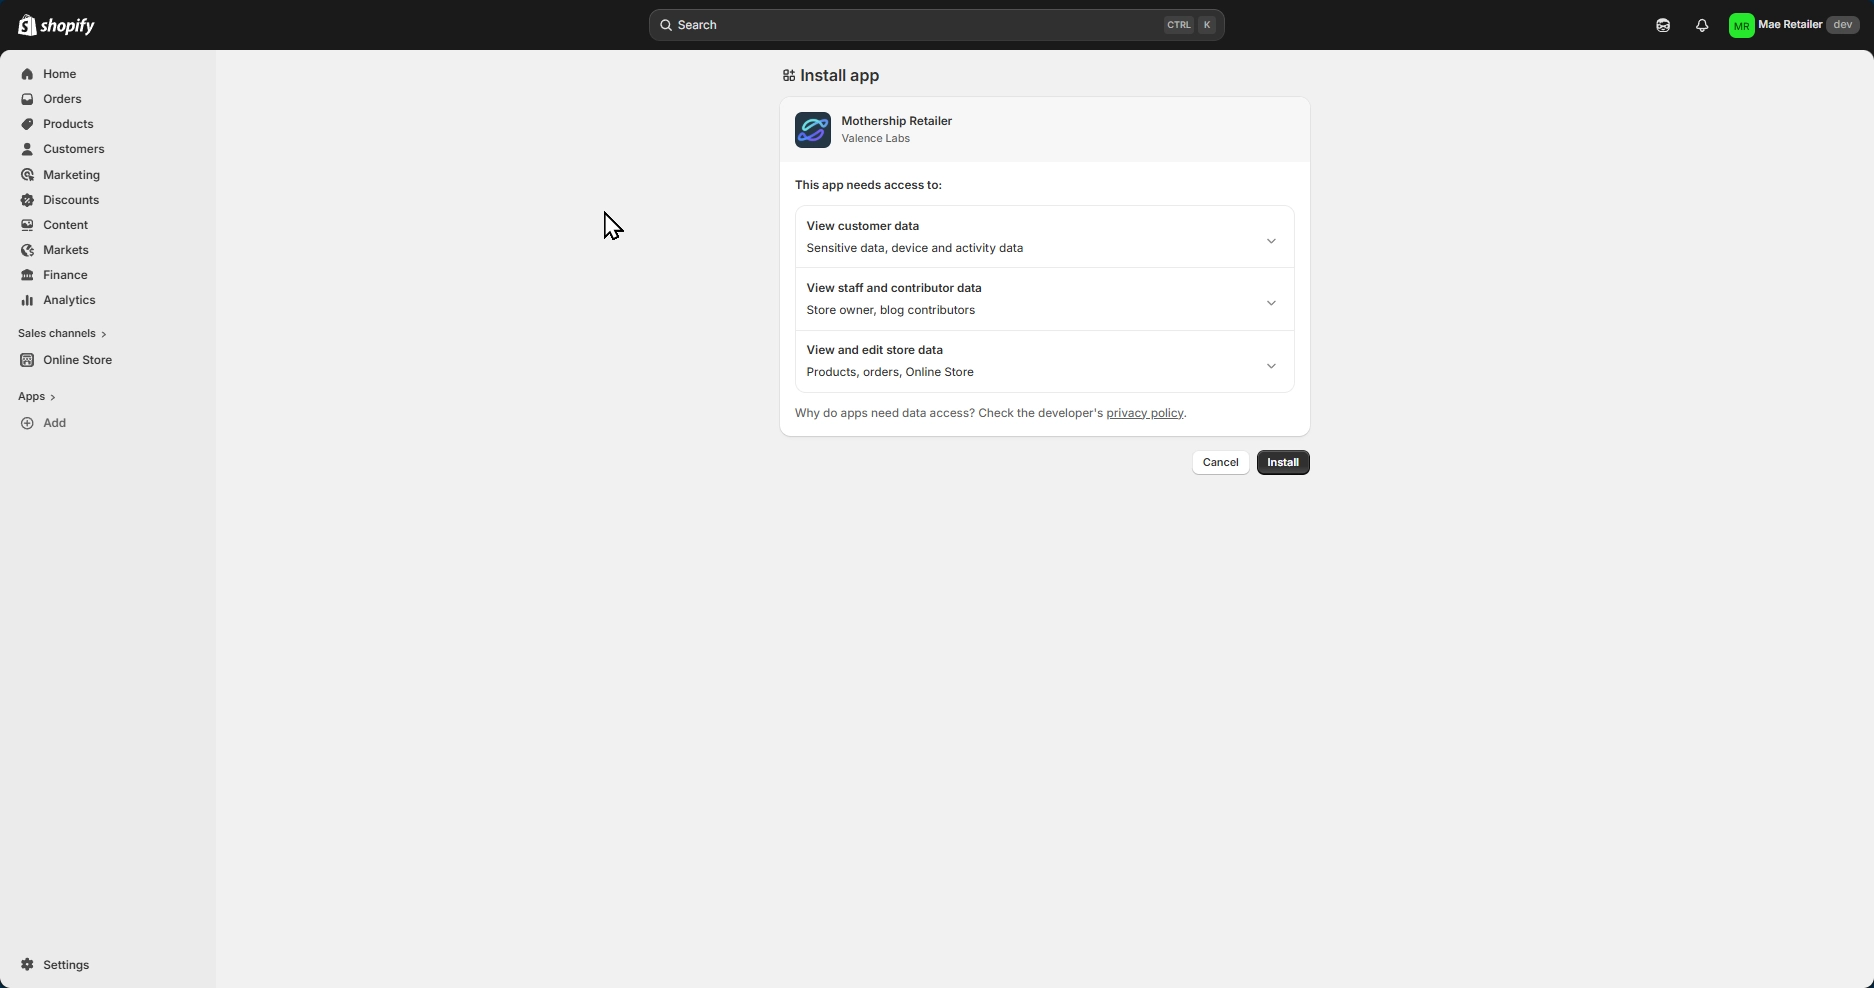
- Click Install, sign in to Shopify if prompted, and select your store
-
Review permissions and click "Install"
-
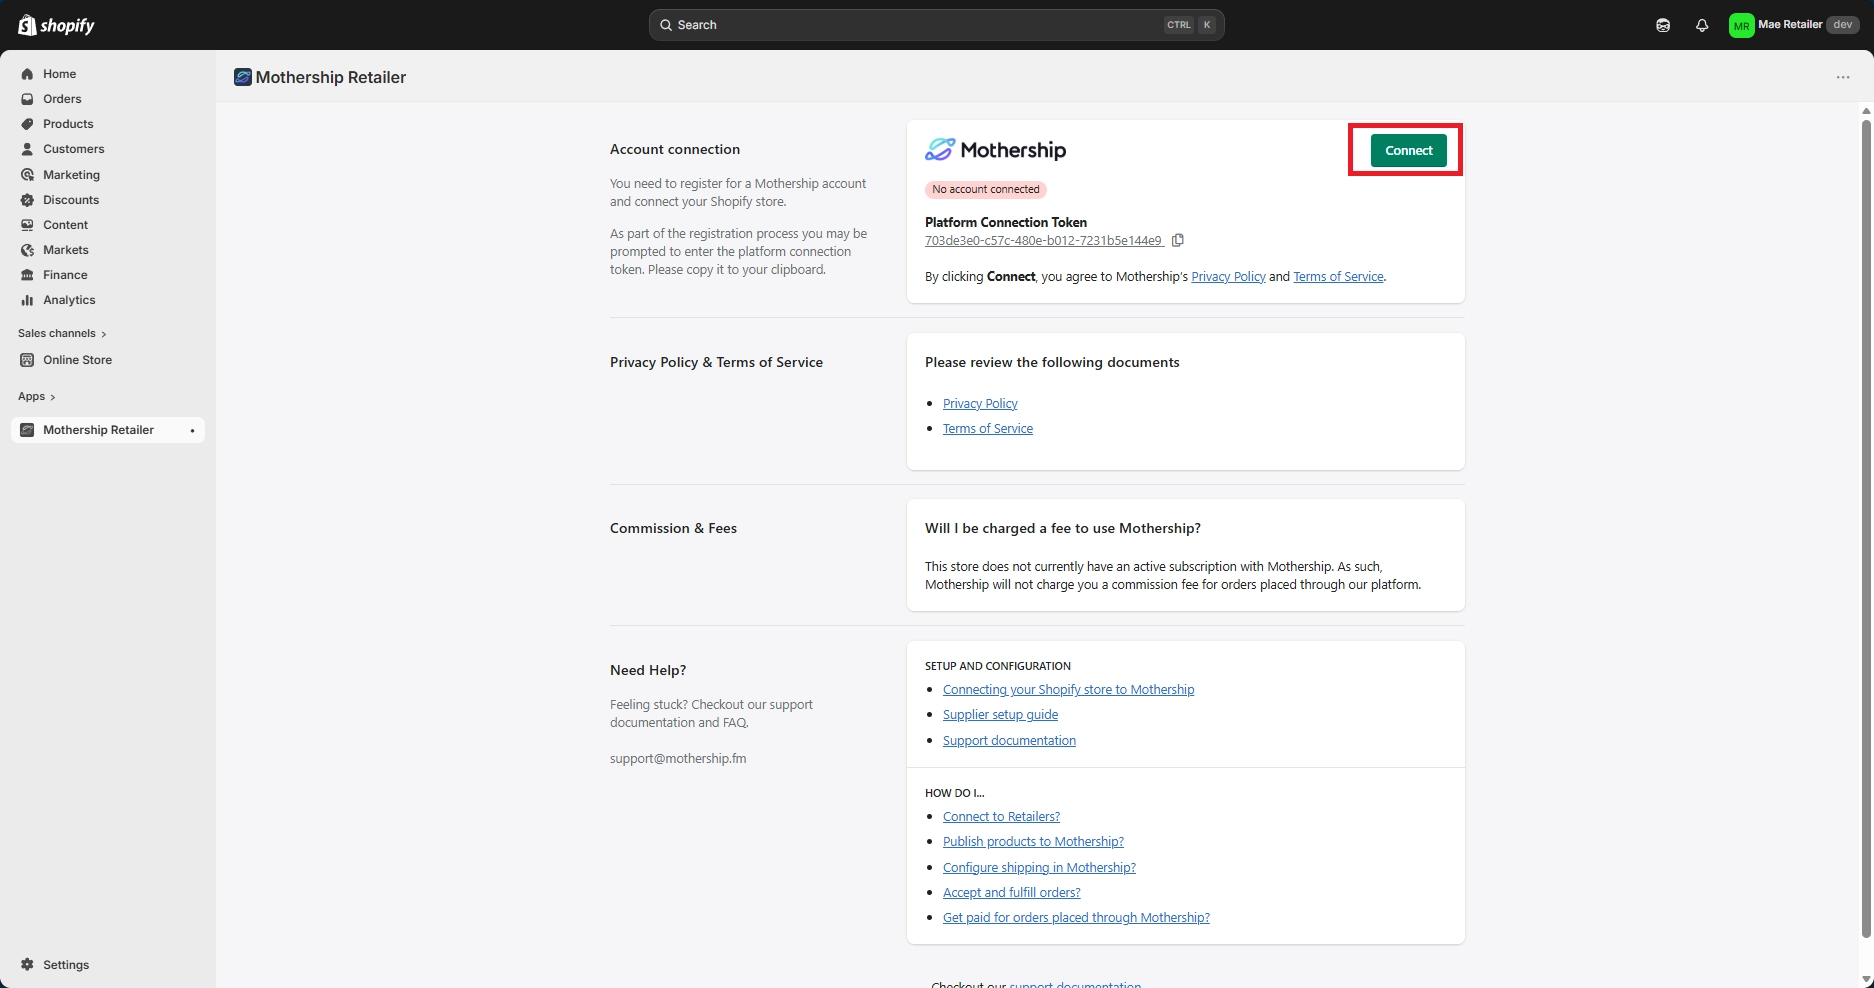
Click Connect on the Shopify status screen to return to Mothership
Shopify will confirm the connection. Click Connect to continue in the Mothership Portal.


Starting from Shopify
-
Open the Mothership Retailer app using the direct URL or through the Shopify App Store search and click Install
Sign into Shopify if prompted, select your store, and complete the installation.
-
Click Connect on the Mothership Retailer status screen
This will direct you to the Mothership Portal to create or log into your account.
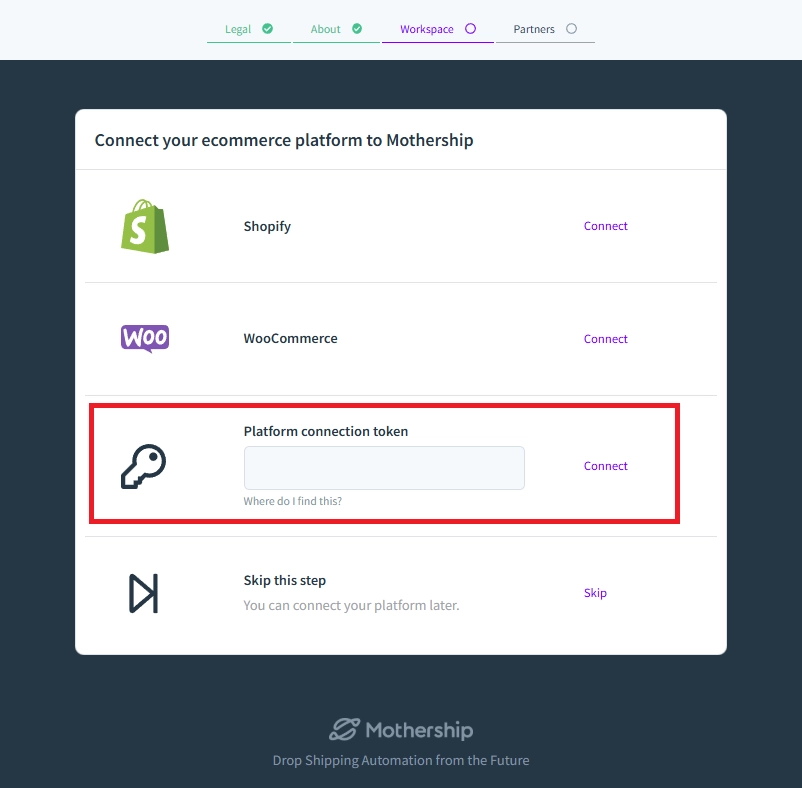
If the connection doesn't link automatically, use the Platform Connection Token as a backup.
🔑 What is the Platform Connection Token? A unique code found on the Mothership app page in your Shopify admin that manually links your store to your Mothership account.
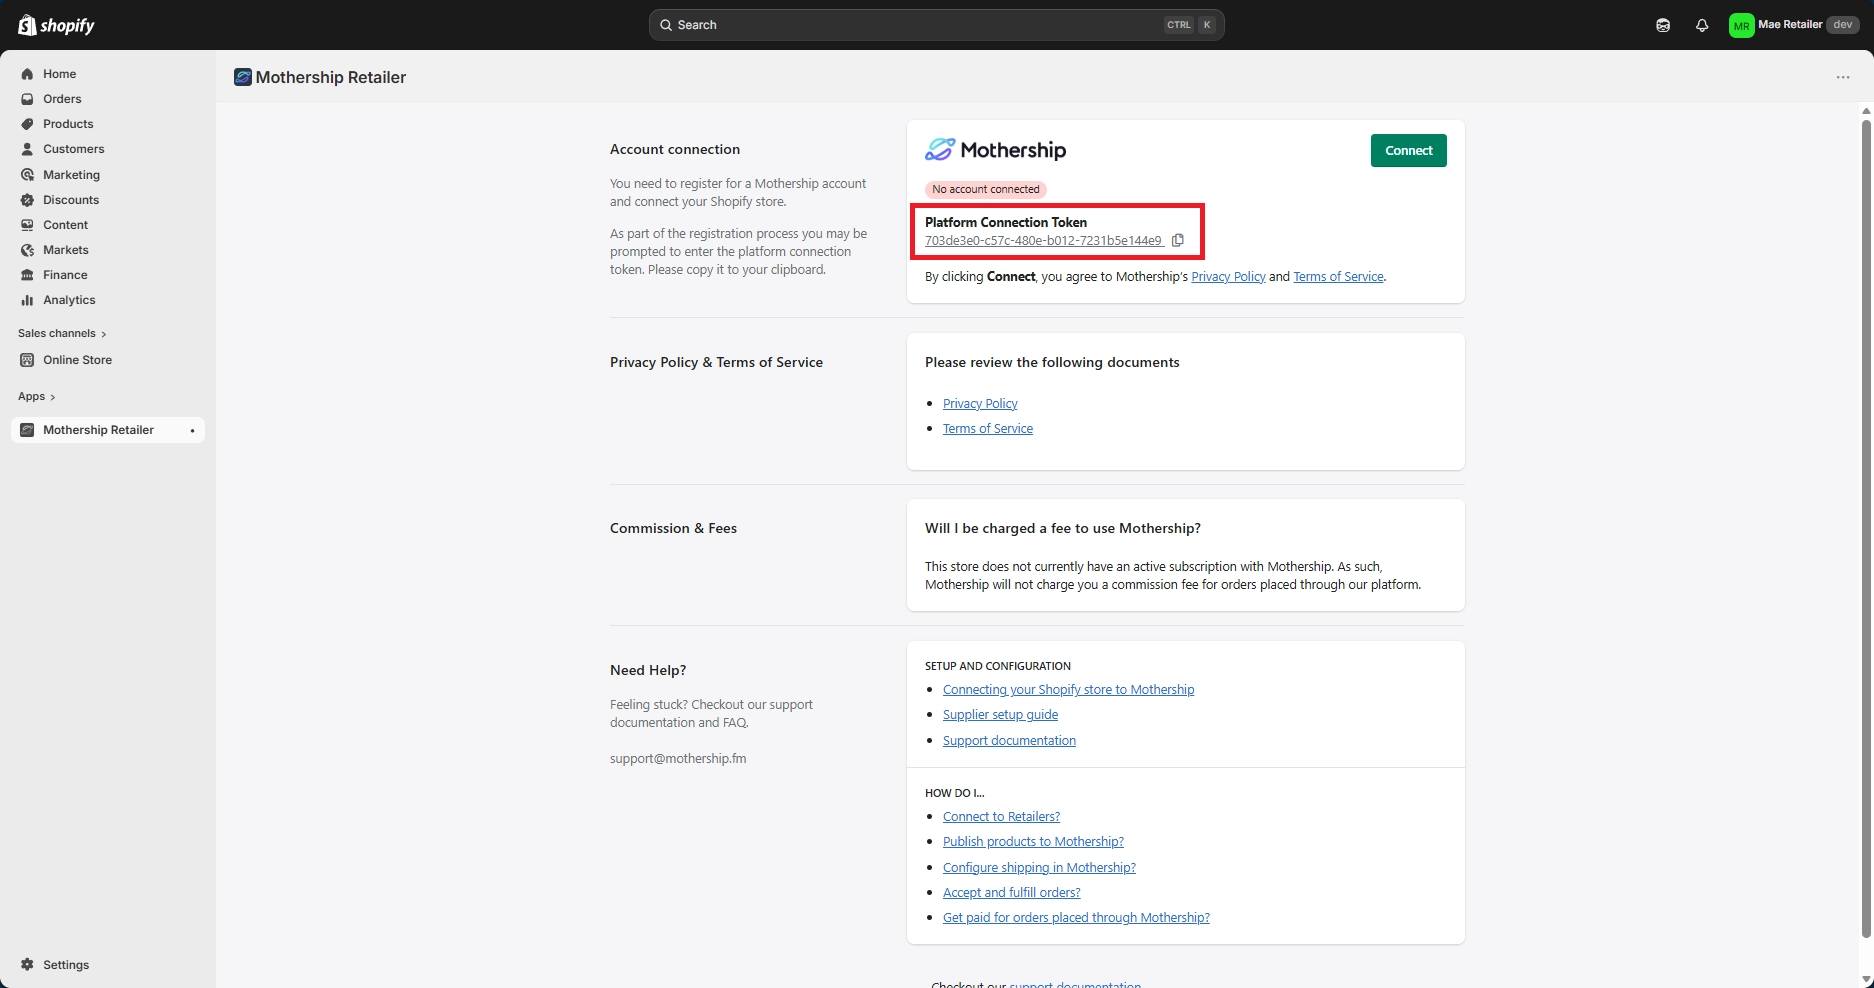
In the Mothership Portal, select Platform Connection Token and paste it in.
ℹ️ Finding Mothership Retailer in Shopify later: Shopify admin → Apps → Mothership Retailer.
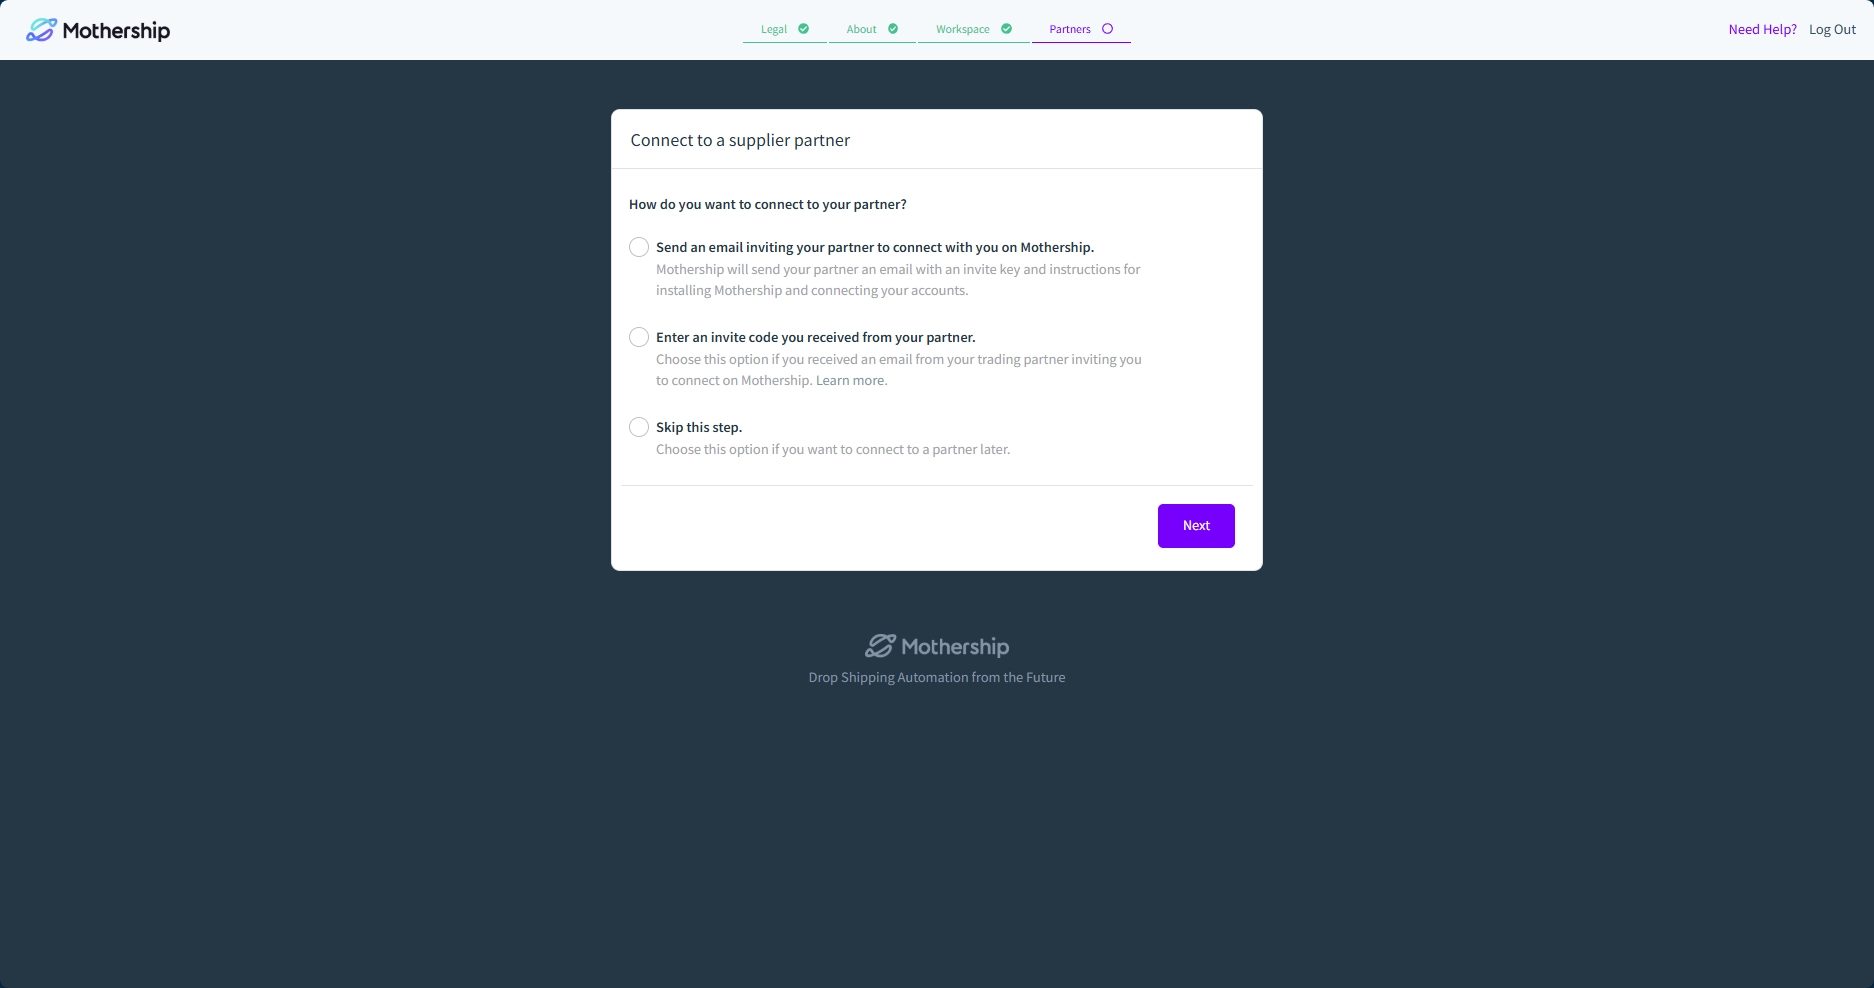
Onboarding Step 6 — Partners: Connect to your supplier
You'll be asked how you want to connect to your partner. Choose the scenario that matches your situation:
ℹ️ Who can send the invite? Only the party with the paid Mothership subscription can initiate the invite. If you're unsure who's paying, check with your supplier before this step.
→ See How to subscribe to a Mothership Plan
Scenario 1 — You are paying for the subscription
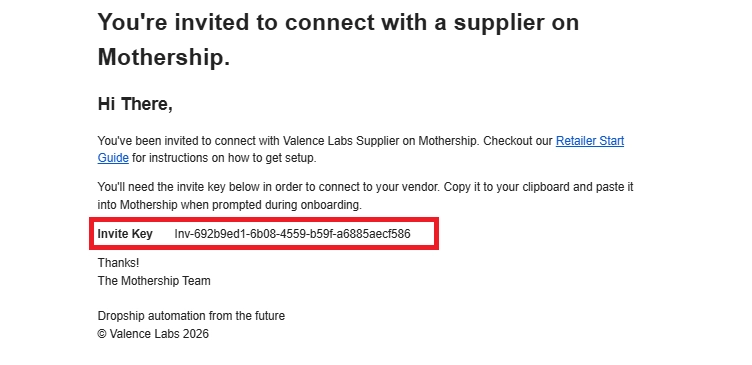
Select "Send an email inviting your partner to connect with you on Mothership." Mothership will send your supplier an email with an invite key and instructions for connecting their account.
Scenario 2 — Your supplier is paying for the subscription
Select "Enter an invite code you received from your partner." Paste the invite code from the invitation email your supplier sent you.
Scenario 3 — You're not sure yet or want to connect later
Select "Skip this step." You can complete the rest of setup now and return to this when you're ready.
Click Next and continue.
💡 No invite key yet? Skip this step and connect to your supplier later.
🎉 You've completed onboarding! Welcome to your dashboard!
After completing the Partners step, you'll land on the Mothership Retailer Dashboard. This is your home base for managing your drop shipping operation.
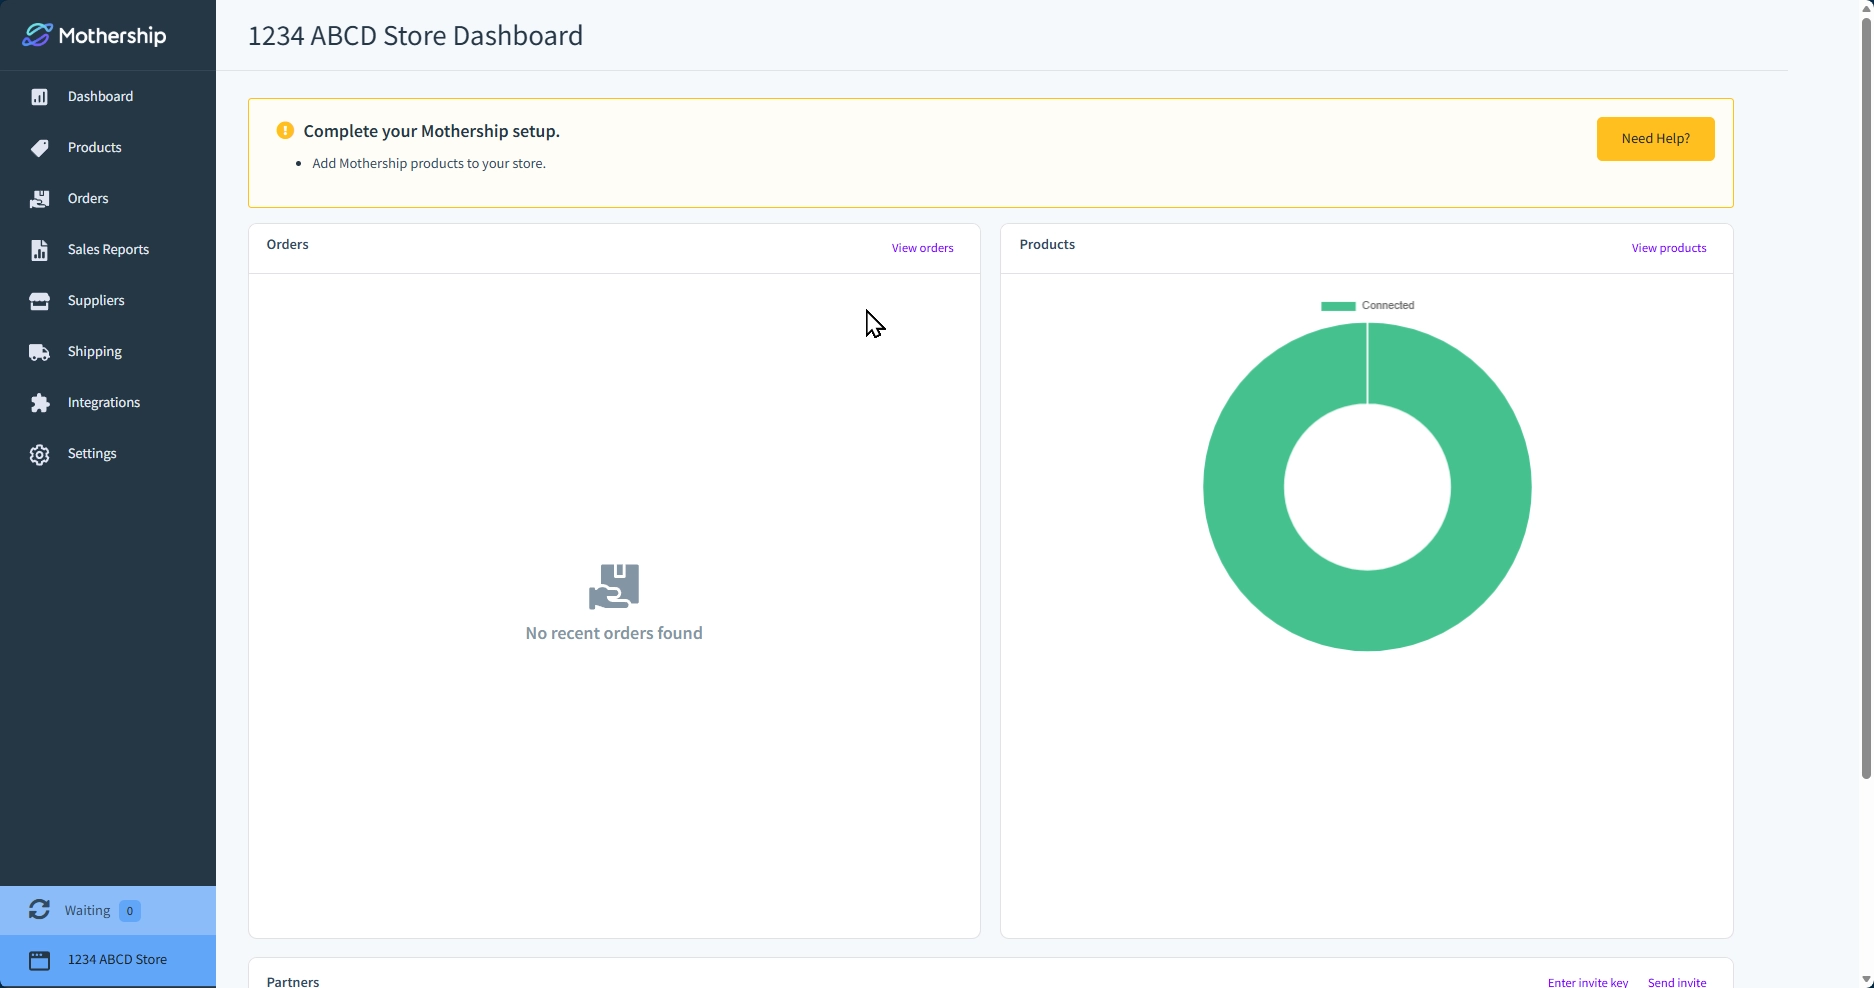
Reaching the dashboard means the guided onboarding is complete. From here, you'll be in control of the activation steps that follow, such as reviewing partnership terms, connecting products, and setting up shipping.
Here's what you'll find in the left navigation:
| Section | What it's for |
|---|---|
| Dashboard | Overview of recent activity, orders, and partnership status |
| Products | View and manage products your supplier has made available to you |
| Orders | Track and manage orders placed through Mothership |
| Sales Reports | Access periodic CSV reports of order and refund activity |
| Suppliers | View and manage your supplier connections |
| Shipping | Review shipping rates your suppliers have configured |
| Integrations | Connect payment processors and other tools |
| Settings | Manage your workspace, notifications, and account details |
Activation Step 1 — Import products
Once connected to your supplier, you can browse and import their products into your Shopify store.
Your supplier controls which products are visible to you. Once your supplier has published products to your partnership, you'll see them listed in the Products section of your Vendor Portal.
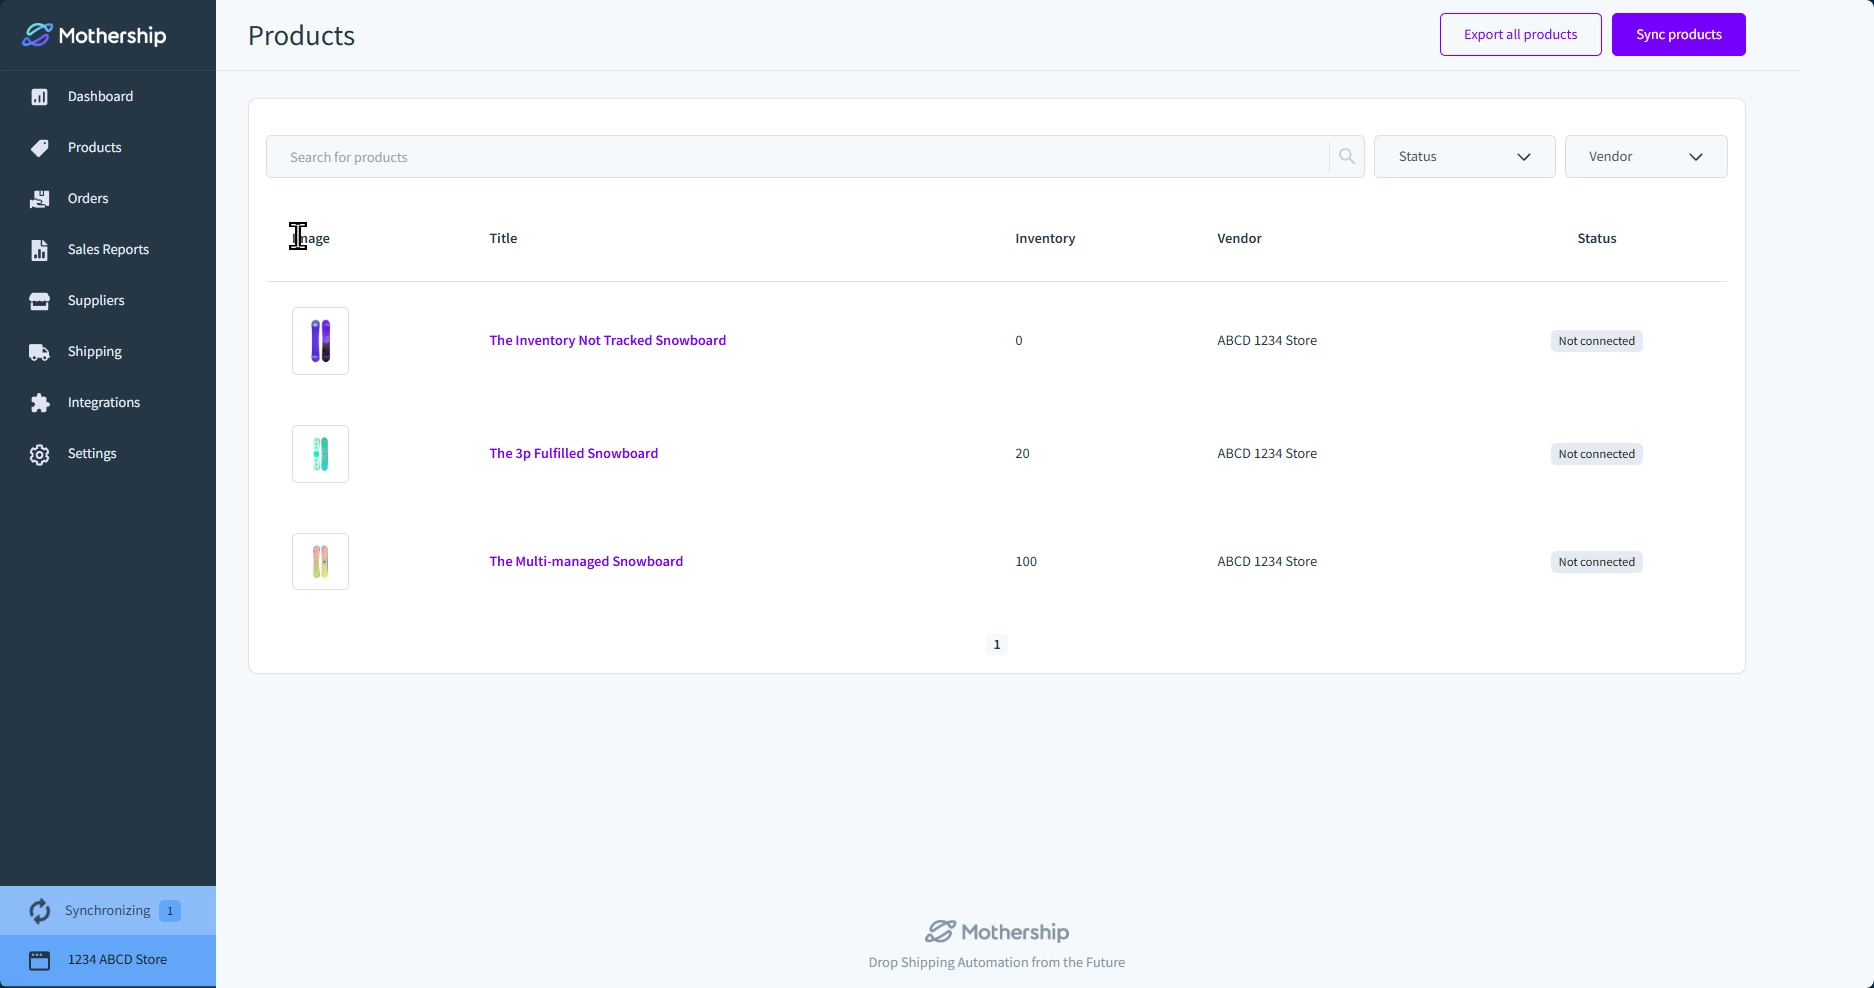
Understanding product status
Each product shows a Connection status:
| Status | What it means |
|---|---|
| Not connected | The product has not been exported yet or is no longer associated with a product in your Shopify store. |
| Pending | The product is currently being exported to your store. |
| Connected | The product has been added to your store and is syncing with the supplier. |
| Partially connected | At least one variant of the product has not been exported or connected to your store. |
| Suspended | Your Shopify store does not allow this product. |
| Error | There was a problem creating the product in your store. |
Adding products to your store
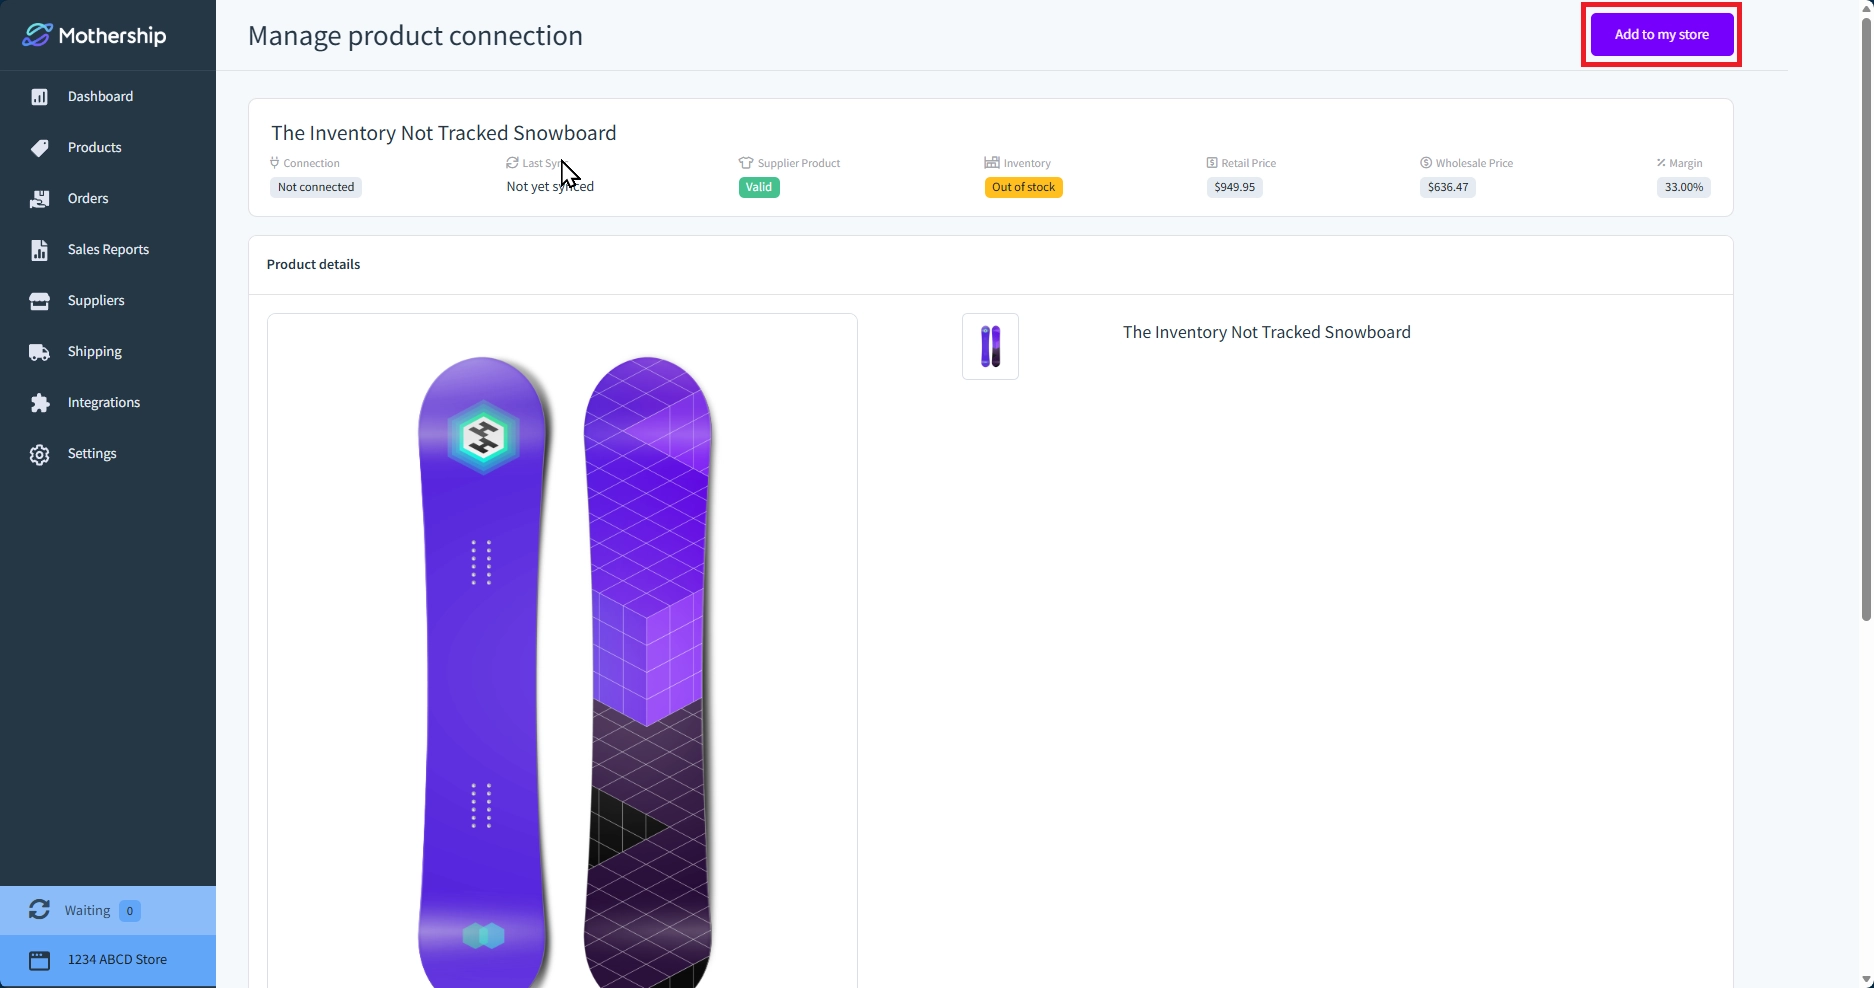
Option 1 — Add individually
Click on a product to open the Manage product connection page. Review the product details, pricing, and inventory, then click Add to my store in the top right corner.
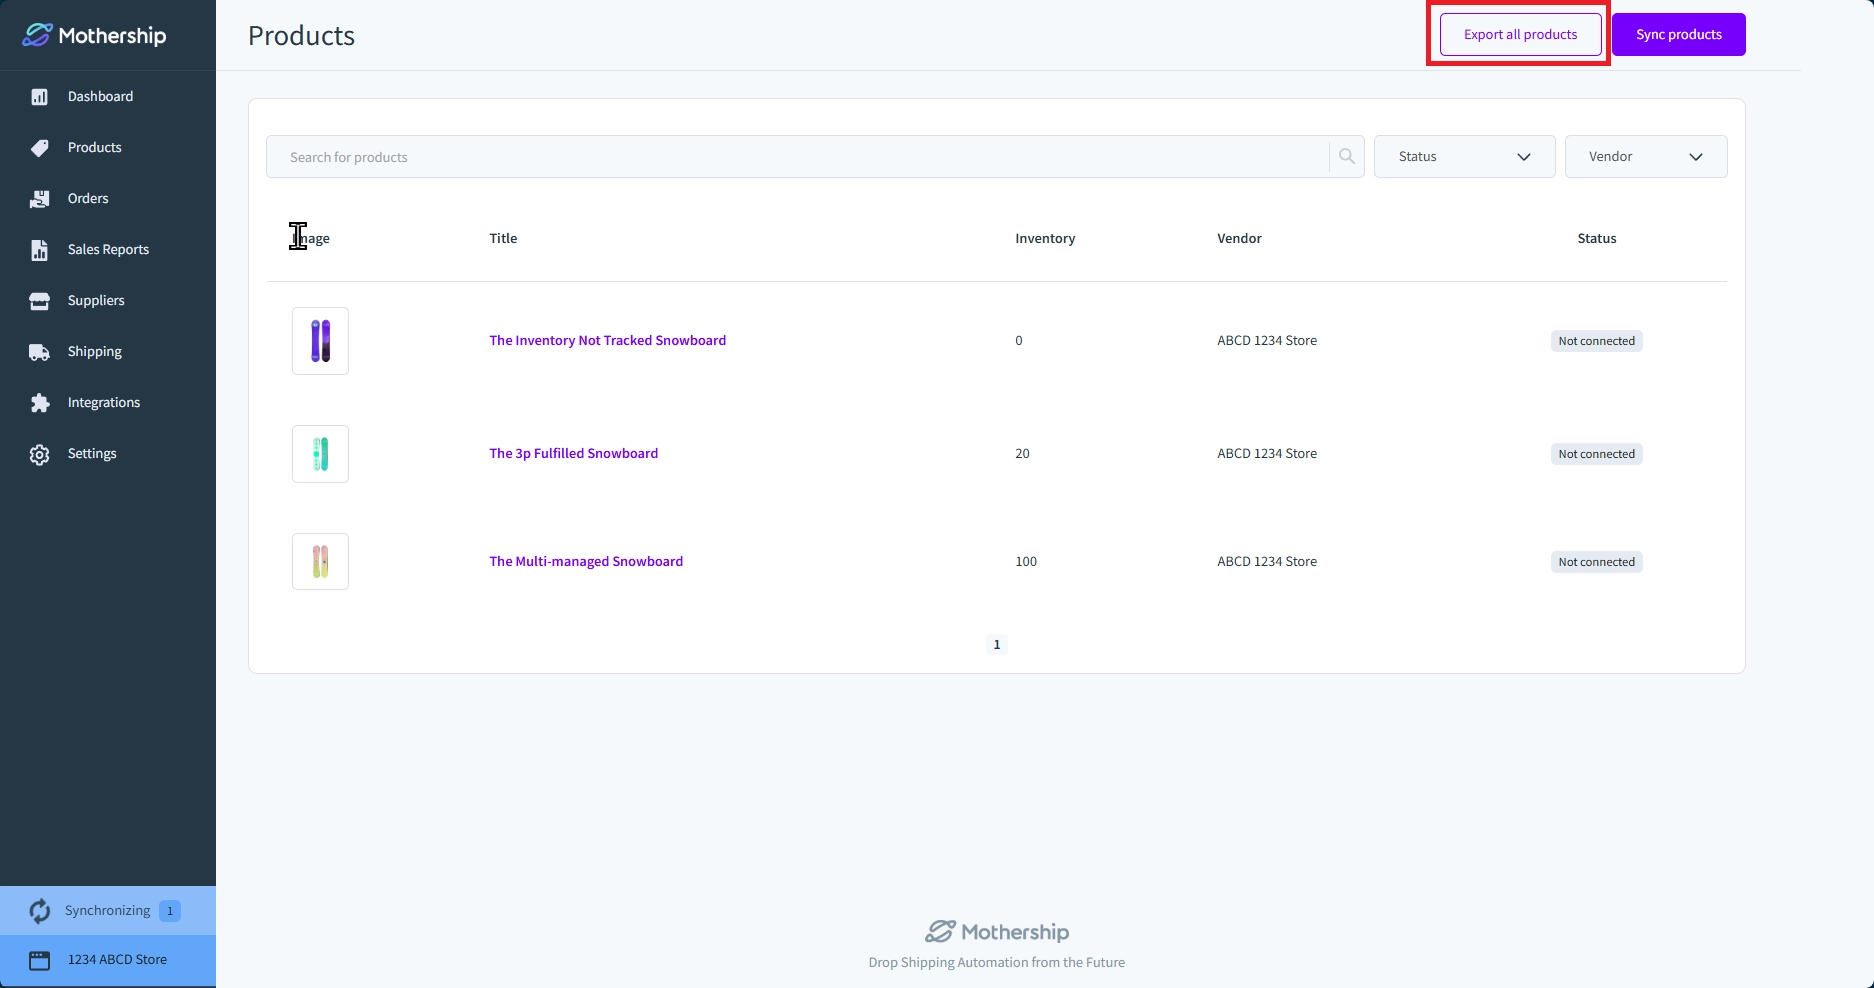
Option 2 — Export all products
From the Products list page, click Export all products to add your supplier's entire catalog to your store at once.
⚠️ Review before adding. Check the retail price, wholesale price, and margin before adding a product to your store. You can adjust your retail pricing in Shopify after importing, but it's good to confirm the numbers make sense for your business first.
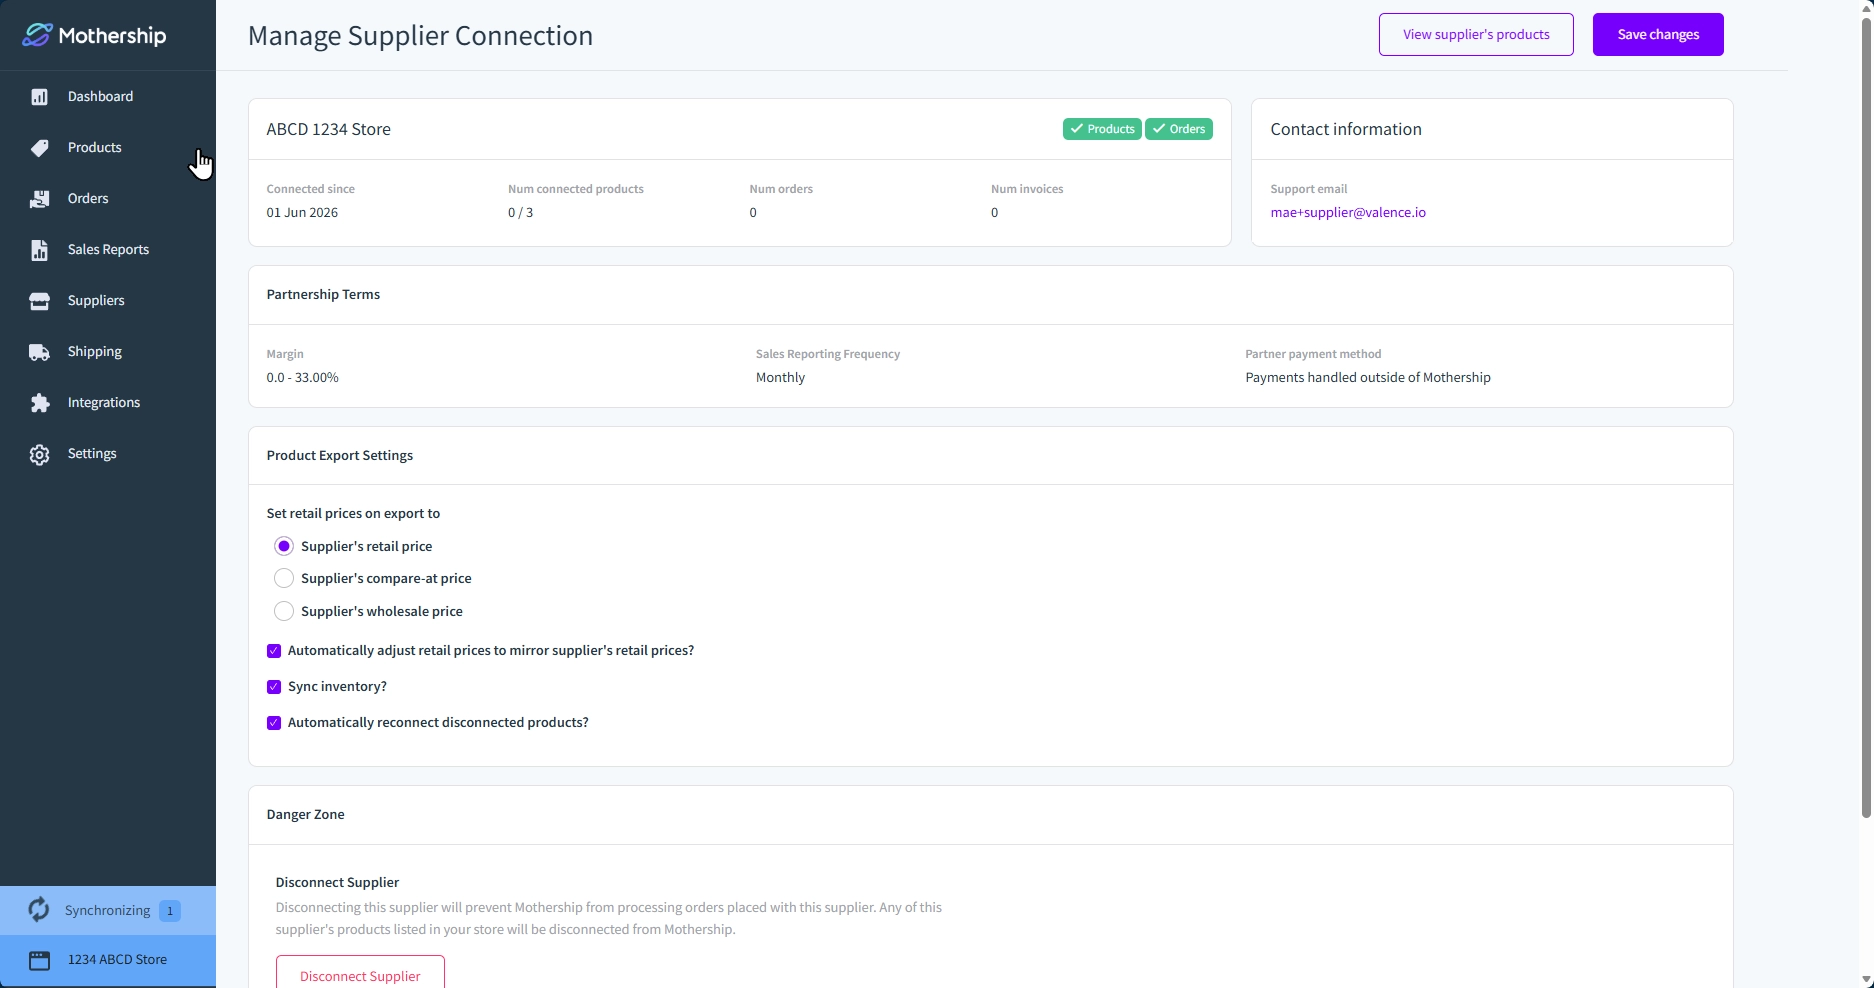
ℹ️ Inventory and pricing sync automatically. Once connected, Mothership keeps inventory levels and wholesale pricing up to date between your store and your supplier's store. By default, Mothership will also sync retail pricing changes whenever the supplier updates their retail prices. You can disable retail pricing synchronization on the supplier’s partnership configuration page.
→ See How to manage your products in Mothership
⚠️ Check shipping profiles after adding products. After a product is added to your Shopify store, make sure it's assigned to a Shopify shipping profile. Products without a shipping profile will prevent your customers from checking out.
→ See Setting up Shipping Profile
Activation Step 2 — Set up shipping
Before going live, make sure your Shopify shipping settings account for whatever shipping fees your supplier may charge. You do not need to charge your end customers the same shipping fees your supplier charges you. For example, you may choose to offer free shipping while your supplier charges you a flat-fee per order.
- Confirm which countries your supplier ships to and restrict your store's shipping destinations accordingly.
- Set your shipping rates — decide what you'll charge your end customers. This is separate from what the supplier charges you.
- Add imported products to a shipping profile in Shopify. Products not assigned to a shipping profile will block checkout.
💡 Ask your supplier what their shipping rates are before setting your customer-facing rates. Your margin needs to account for the supplier's shipping charge.
Before you go live
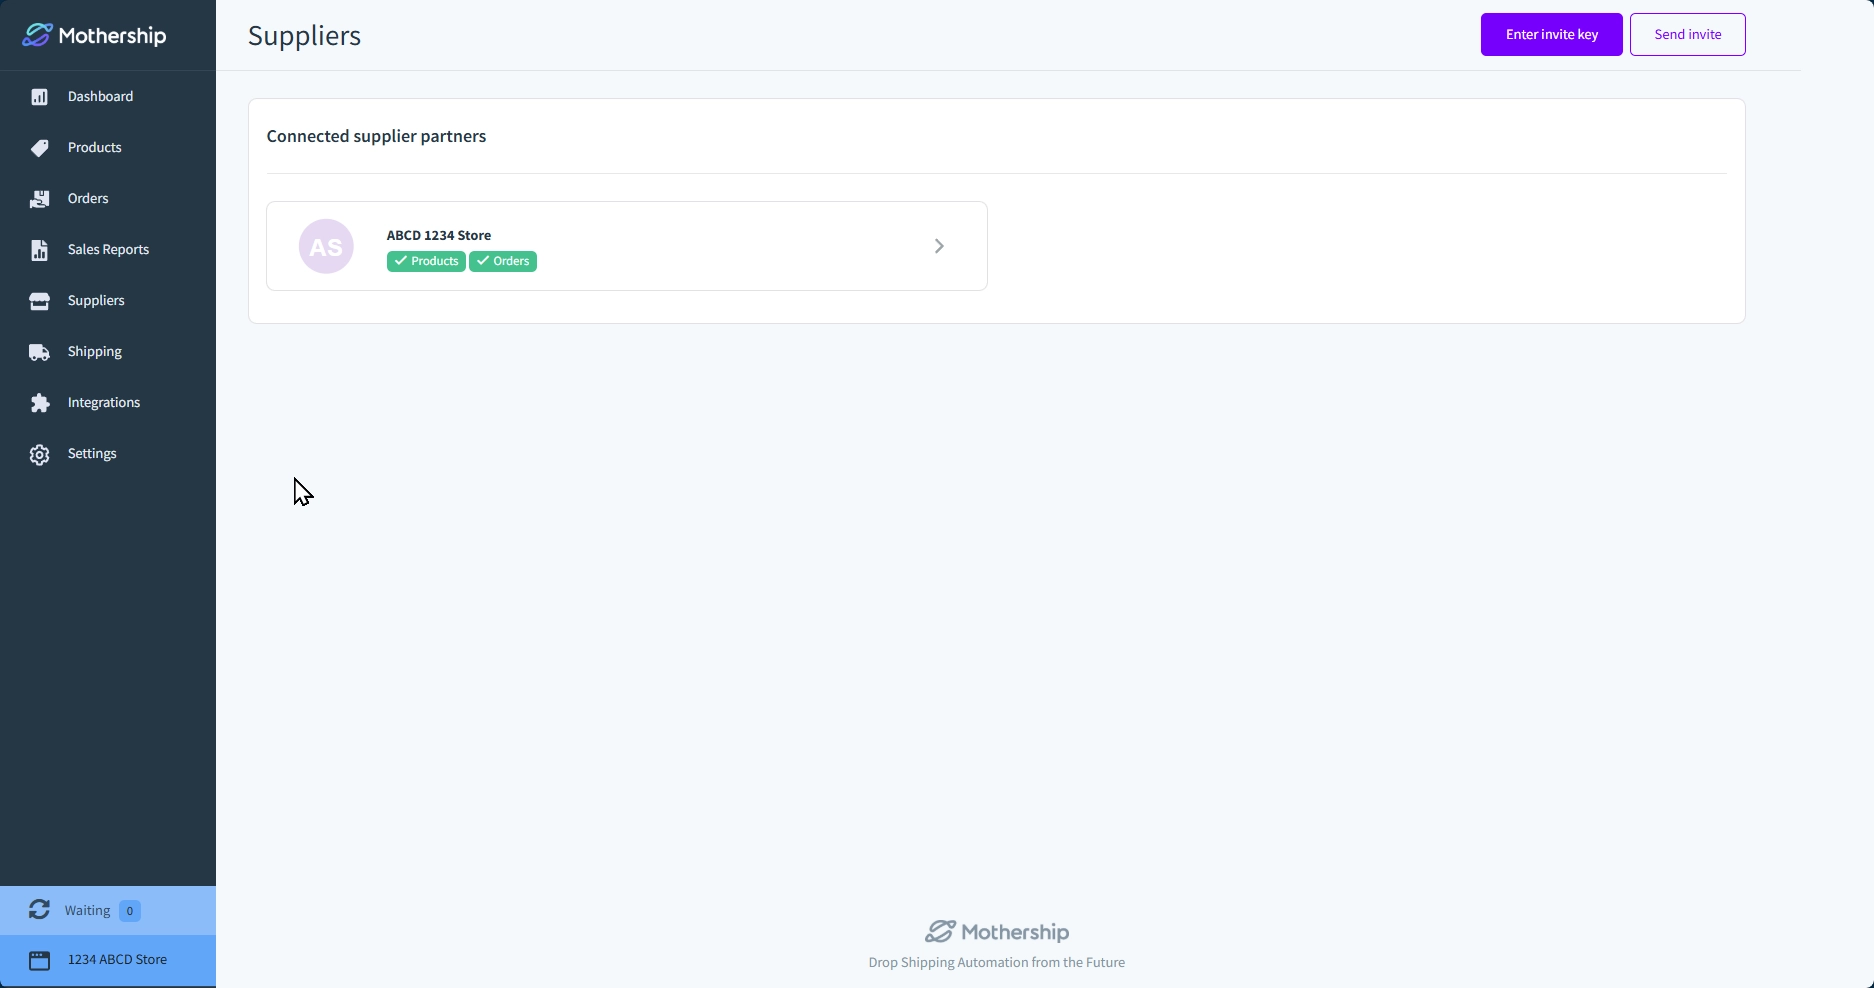
🤝 Review partnership terms
Once connected, your supplier may have already set partnership terms (wholesale pricing, margin structure, payment preferences, and sales report frequency). After you onboard, you should review them carefully by going to the Supplier page in your Mothership Portal and clicking the Supplier name.
→ See Retailer’s Supplier Configuration Page
Reach out to your supplier to discuss changes.
↔️ How orders work
When one of your customers places an order in your Shopify store, Mothership automatically places that order to your supplier.
|
|
End customer | Retailer (you) | Supplier |
|---|---|---|---|
| Action | Buys from your store | Order automatically sent to supplier | Fulfills & ships to end customer |
| Pays | Retail price + shipping | Wholesale price + shipping (to supplier) | — |
| Keeps | — | Retail minus wholesale (your margin) | Wholesale price + shipping charge |
When the supplier fulfills the order, Mothership sends tracking information back to your Shopify store and marks the order as fulfilled. Where possible, Mothership triggers a fulfillment notification email to your end customer.
ℹ️ Mothership only processes paid orders. Mothership will not send an order to the supplier unless payment has been captured in Shopify. Make sure your payment settings capture payment at checkout, not after fulfillment.
→ See the full Orders guide for details on order statuses, editing, and fulfillment
💳 Payments and invoicing
Your supplier chooses which method you will use to pay for the orders. There are two options:
Card on file (via Stripe)
Mothership securely stores a card on file for your account. When an order is placed, Mothership automatically charges that card to pay your supplier. Mothership charges a transaction fee on each payment processed this way.
Manual invoicing (outside Mothership)
Your supplier invoices you directly, outside of Mothership, on whatever schedule they've set up. You'll settle payment with them according to their terms.
🧪 Placing a test order
Before going live, confirm the full order flow works end-to-end.
-
Let your supplier know you're placing a test order
Give them a heads up so they're expecting it and won't actually fulfill it. We want to see the order flow from your store into Mothership and on to the supplier. Likewise, we want to see a fulfillment flow from the supplier’s store into Mothership and back to your store.
-
Use a discount code to place a free test order
Create a one-time 100% discount code in Shopify so you can check out without using a real credit card. Disable the code when you're done.
-
Confirm the order reaches your supplier through Mothership
Your supplier should see the order in their Mothership dashboard within a minute. Ask them to confirm if the product, quantity, shipping address, and shipping rate look correct.
-
Have the supplier fulfill the test order without shipping it
This confirms fulfillment and tracking information flows back through Mothership to your store and triggers the end customer notification.
-
Cancel the test order once confirmed
Once both sides have verified everything looks right, cancel the order.
💡 If the order isn't received by Mothership: Check that payment was captured in Shopify. If the order isn't received by the supplier, ask them to verify their shipping configuration in Mothership.
→ See the full Test Orders guide
❌ Cancellations & refunds
Sometimes a customer wants to return an item. You should discuss with your supplier what that process looks like. Will you accept returns? Will the supplier accept returns? How will the supplier link the returned merchandise to the order in their store? These are important questions to answer prior to going live.
The most common scenarios:
- Cancel before fulfillment — either party can cancel an order in Mothership before it's been shipped. Since Mothership doesn’t have visibility into the supplier’s fulfillment process, if you're initiating the cancellation, contact your supplier immediately, so they will receive the request in time to stop a shipment.
- Refund after fulfillment — if your customer returns an item, you and your supplier handle this directly. Confirm with your supplier whether they accept returns, who handles the return label, and whether an RMA is required. Mothership records the refund for reporting purposes.
- Who initiates? You (the retailer) typically initiate cancellations and refunds. Your supplier will be notified via their partner support email.
→ See the full Cancellations & Refunds guide
Final checklist ✅
- ✅ Created your Mothership Portal account
- ✅ Legal — agreed to the tax & drop shipping policy
- ✅ Connected your Shopify store
- ✅ About — completed your business profile
- ✅ Workspace — set workspace type and currency
- ✅ Partners — connected to your supplier and configured reporting
- ✅ Imported products into your Shopify store
- ✅ Configured shipping rates
- ✅ Completed a test order
What's next?
Head to the Retailer Start Guide for guidance on managing products, placing orders, and getting the most out of your supplier partnership.